How to Clean Your Car's Seats
Keep your car's seats looking fresh in just 6 easy steps.

It’s no secret that cars get dirty. From the outside grime to the inside messes, it can be difficult to keep your car looking its best. Leaving them like that might lead to issues in the future.
And one of the most overlooked parts when it comes to cleaning? Car seats! Whether you spilled something or just want a deep clean, we’ve got some tips and tricks for getting your car seats back into shape in no time.
So get those sleeves rolled up and let’s get this show on the road!
Cleaning Your Car Seats with Fabric Cleaner in 6 simple steps:
Step 1: Remove Everything From Your Car
Take out any loose items from your car such as toys, clothes, other belongings, and any trash. This will make it easier to reach all the nooks and crannies when you’re ready to start cleaning.
Step 2: Vacuum In the Seat Crevices
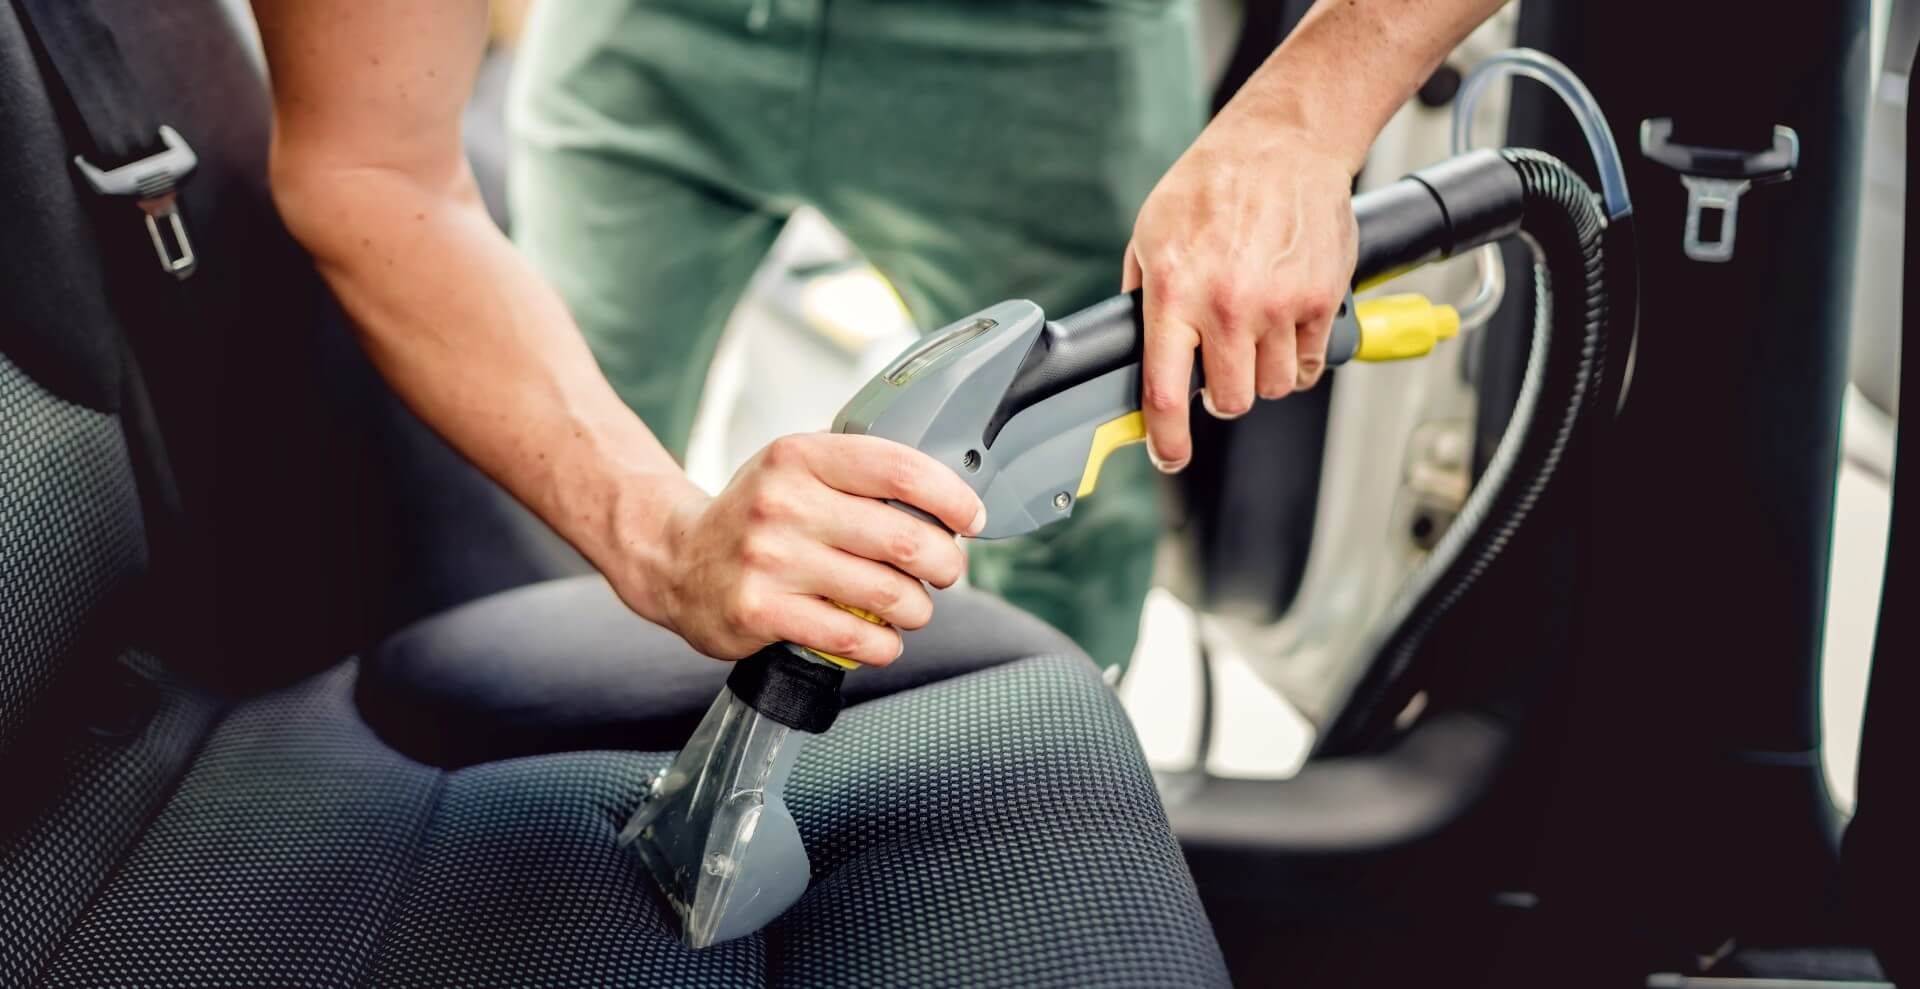
Now it's time to rid all those specks of dirt, loose hairs, and tiny crumbs. Make sure you don't forget any hidden corner or small crevices; the hand attachment on your vacuum should do just fine here! You'll want to get in between each seat back and bottom as well.
When vacuuming your seats, use one free hand to separate the fabric seams while pressing firmly down with the suction end of your vacuum cleaner - that way nothing will escape its powerful grasp.
Step 3: Spot Treat Car Seat Stains
To give those extra tough areas a deep clean, lightly spray fabric cleaner directly onto the stain. But be sure to not overdo it - according to label directions, four or five sprays should suffice!
Too much of anything can result in some smelly mildew and make your car smell even worse than before. For plastic parts like the steering wheel, belt buckles, or dashboard sections specifically use a quality multipurpose cleaning spray for maximum results.
Step 4: Brush and Wipe Down Your Seats
For the fabric parts of your car seats, use a scrub brush or damp cloth to work in the cleaner. This will help break up any stuck-on dirt and grime. Be sure to use gentle strokes so you don't damage the fabric. Once you have thoroughly cleaned each seat, wipe away excess liquid with a dry towel or lint-free cloth.
Step 5: Let Your Seats Air Dry
Your car seats are almost done! All that's left is to let your clean seats air dry. We suggest allowing them to sit for at least an hour or two so that all the moisture can evaporate away. Just don't forget to open up a window and turn on the fan - you want to make sure that your car doesn't become a giant steam room.
Step 6: Vacuum for a Final Clean
Once you’ve let your seats air dry, it's time for one final vacuum. This will help remove any excess dirt or debris that might have been missed in the first round of cleaning. And you're finished. Sit back and enjoy those fresh car seats, you did it!
For DIY Car Cleaners
If you're looking for a more sustainable solution, there are plenty of DIY car cleaners that you can whip up with ingredients found right in your own pantry. For example, baking soda and white vinegar can be mixed together to create a powerful all-natural cleaner.
Or if you have some liquid dish soap on hand, mix it with warm water to make a soap solution. Just be sure to use the appropriate cleaner for the job, as some fabrics may react differently than others when exposed to certain ingredients.
Now that you've mastered the art of cleaning your car seats, a basic skill
every car owner needs, it's time to grab those brushes and get scrubbing! With these tips in mind, you'll have your car seats looking like new in no time.
Give us a call and we’ll give you a hand with any of your car cleaning needs!


